SocX AI
Local AI Installation for NetGuardX
SOCX - AI Model
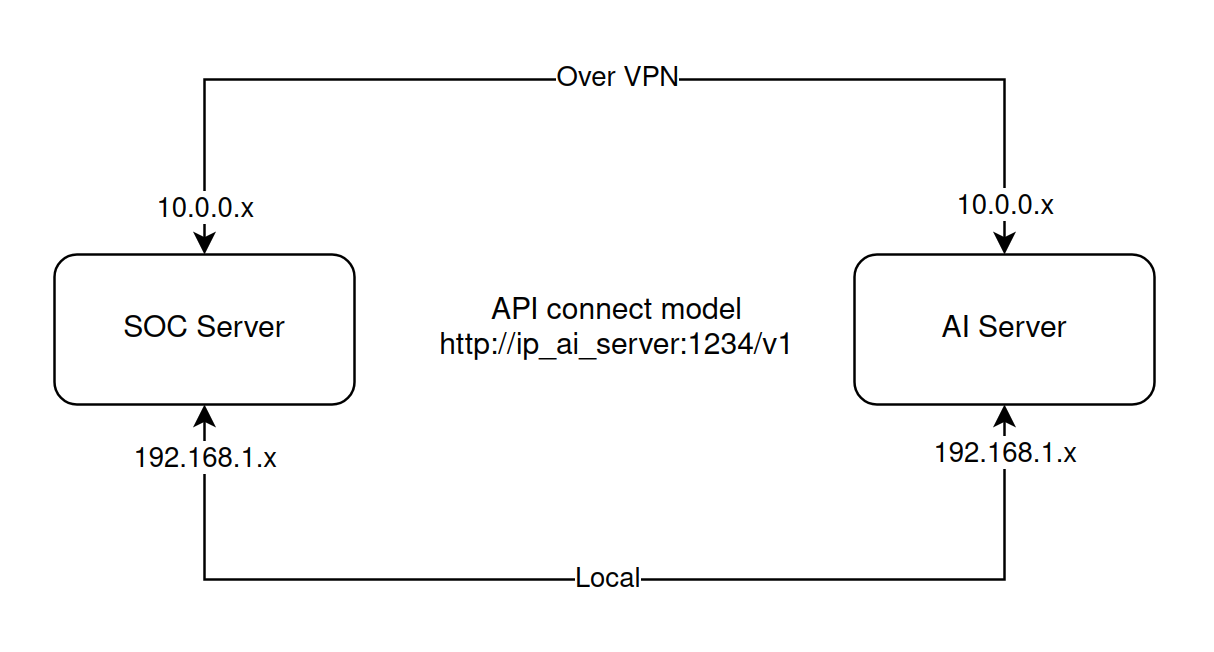
Direct Connection
For maximum performance, minimize latency between SOCX and AI, the two servers need to be on the same network segment (local)
VPN Connection
If SOCX and AI Server are not on the same local network, connect these two servers in the same private network (VPN), should use Wireguard to minimize latency
Application Installation
Install LMS Studio
# download and install lms cli application
curl -fsSL https://lmstudio.ai/install.sh | bash

# edit profile
nano ~/.profile
# add the following line to profile file
export PATH="$PATH:/root/.lmstudio/bin"

# load profile
source ~/.profile
Download Model
Refer to VRAM calculation to choose appropriate Model: https://apxml.com/tools/vram-calculator. With 24Gb VRAM configuration, can only use models smaller than 20Gb (10 to 18 Gb is best). Recommended 2 models:
- openai/gpt-oss-20b
- qwen/qwen3-30b-a3b-2507
To find models refer to: https://huggingface.co/models
Search using lms cli:
# command
lms get gpt-oss-20b

# press Enter to download
Load Model
To optimally use available VRAM, adjust context param
Example with openai/gpt-oss-20b can set up to 120k context
lms load openai/gpt-oss-20b --gpu max -c 120000
With qwen/qwen3-30b-a3b-2507 can only load with 48k context
lms load qwen/qwen3-30b-a3b-2507 --gpu max -c 48000
VRAM usage will reach over 95%, check with nvtop command
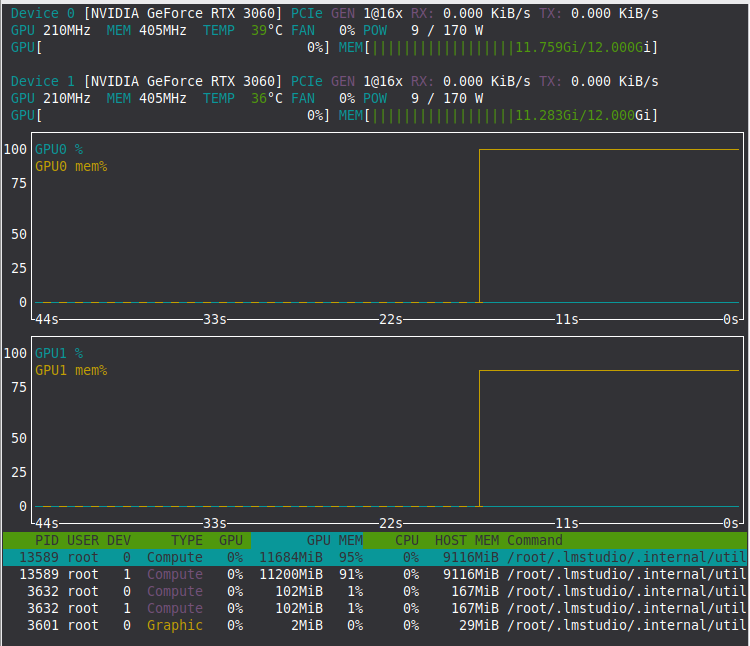
Use command: lms unload -a to unload currently loaded model
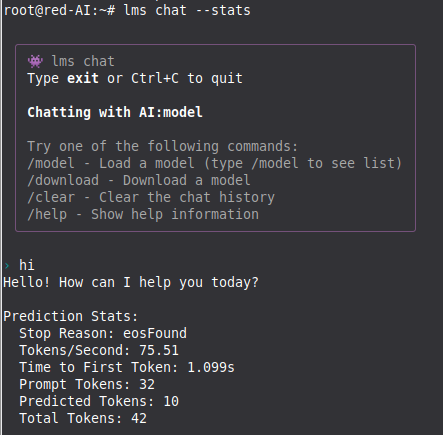
After successfully loading model, can chat directly on terminal using the following command
 # chat and check speed
lms chat --stats
With qwen/qwen3-30b-a3b-2507 model will achieve 75 tok/s
Open API Server
LMS allows opening API server for tools to connect
Run the following command:
lms server start --bind 0.0.0.0
Lms will open a server at port 1234, can connect from any computer in the same IP range
Use the following command to test:
curl http://localhost:1234/v1/messages \
  -H "Content-Type: application/json" \
  -H "x-api-key: TOKEN_XXX" \
  -d '{
    "model": "qwen/qwen3-30b-a3b-2507",
    "max_tokens": 256,
    "messages": [
      {"role": "user", "content": "hello"}
    ]
  }'
Replace localhost with AI Server IP address, to call from other computer in the range Note: Because the system is from local and default configuration, no need to use correct Token.
GUI Installation for AI
Install OpenWebUI
LMS Studio CLI does not support API authentication and Web interface so need another application to serve as WEB UI for AI. Use OpenWebUI, see detailed installation guide here: https://github.com/open-webui/open-webui
Use docker:
docker run -d --network=host -v open-webui:/app/backend/data --name open-webui --restart always ghcr.io/open-webui/open-webui:main
After docker starts (wait about 5' for app to fully start before accessing) Access web at: http://<ai_server_ip>:8080 to set up admin
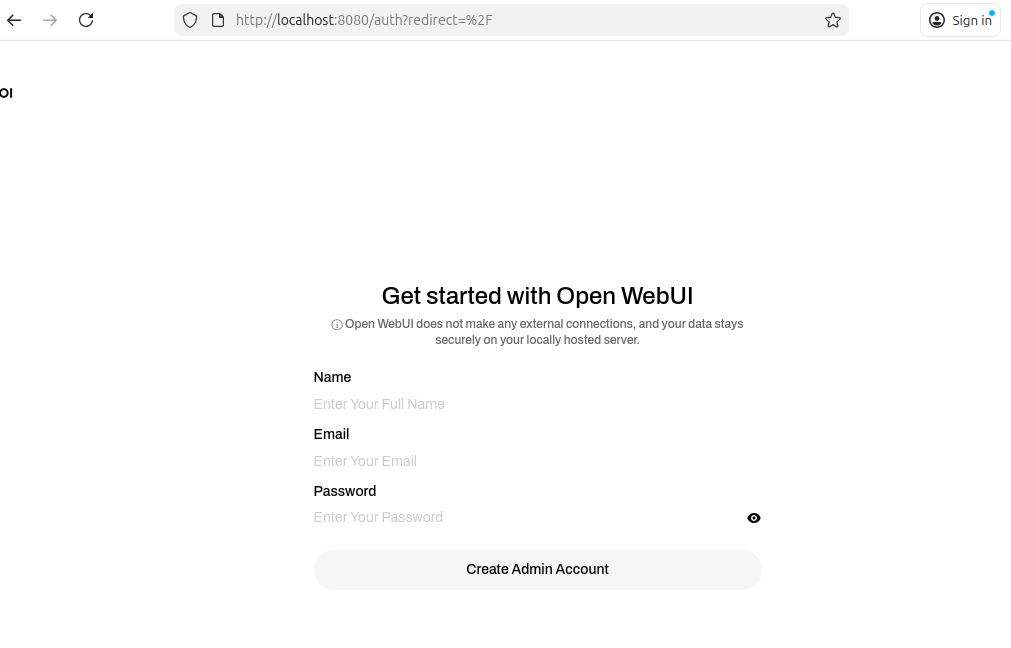
Configure connection to local AI
Access http://localhost:8080/admin/settings/connections to configure connection to local AI lms set up in section 2
- Turn off and delete other API types, only leave OpenAI as shown
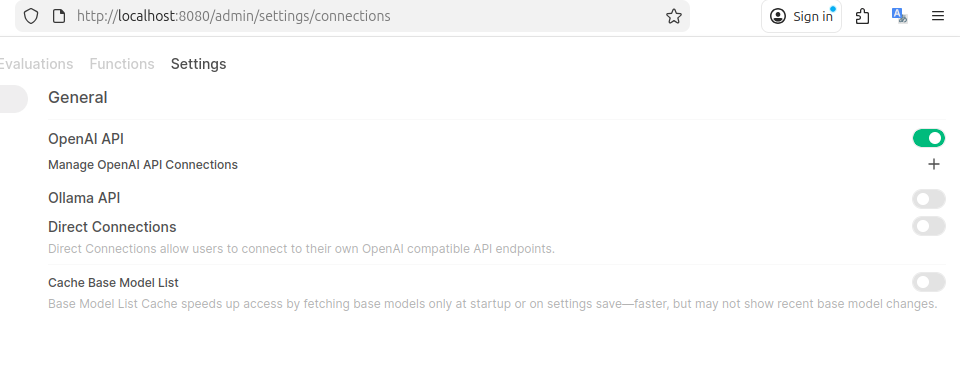
Add API configuration to connect to LMS
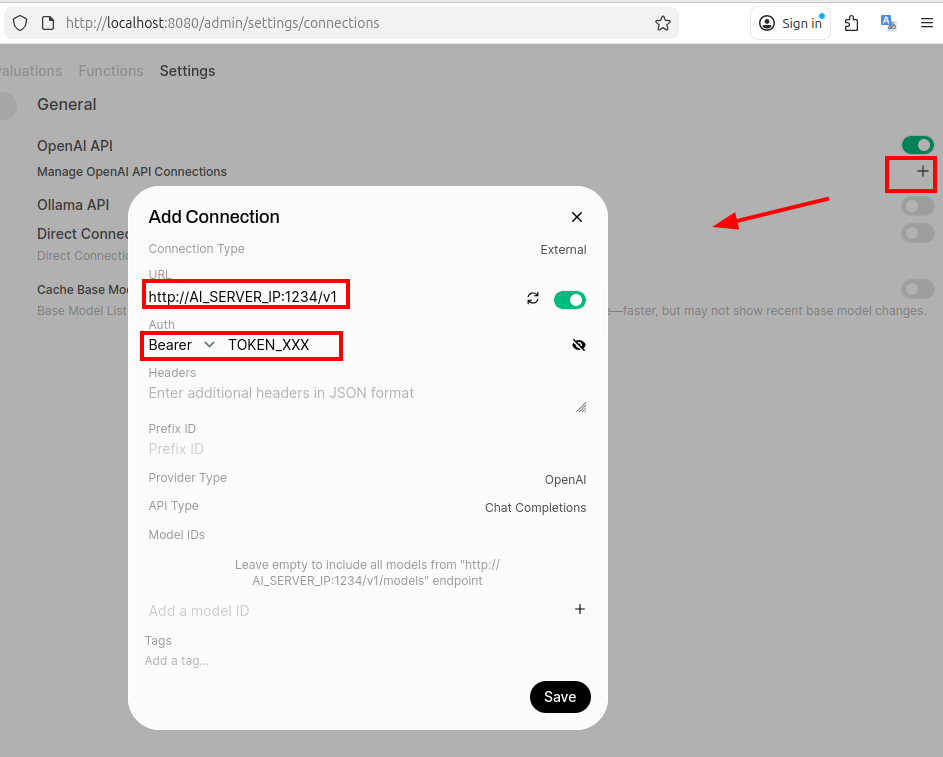
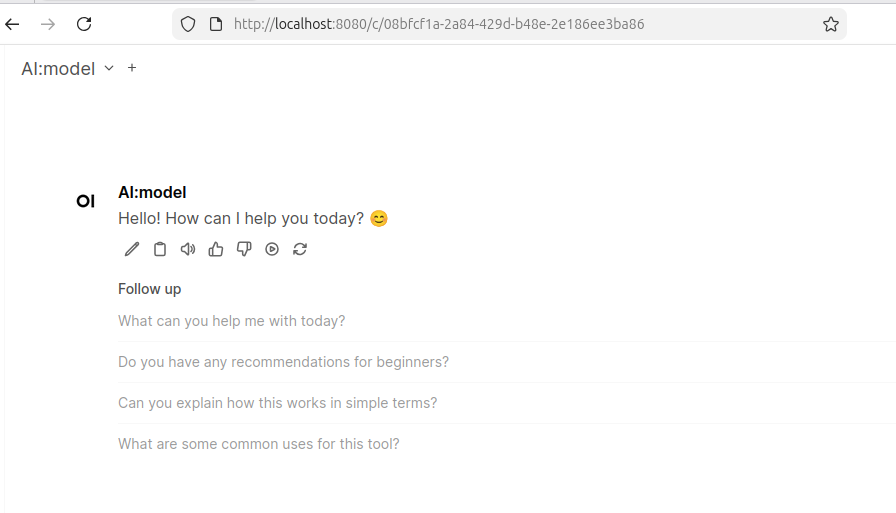
Enter correct AI Server address, save and return to homepage to test
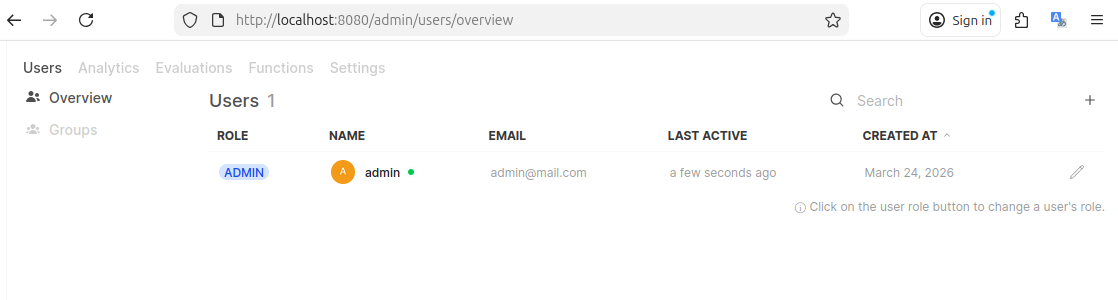
Access the following link to create users: http://localhost:8080/admin/users/overview
Configure SOCX to Connect AI
After setting up AI, interaction is possible. To connect SOCX and AI, these two servers need to be on the same Local network or VPN
On SOCX Portal configure in .env file
OLLAMA_API_URL="http://IP_AI_SERVER:1234/v1/chat/completions" OLLAMA_API_KEY="TOKEN_XXX" AI_MODEL_NAME="MODEL_NAME"