Install Agent
Agent Installation
Basic guide to install SocXpress Agent on Windows, Linux, and macOS. The content below is a general example; for production environments, refer to detailed documentation with specific configurations.
SocXedr from Portal
The agent of SocXpress is called SocXedr, also known as SocXpress Agent; from now on only the name SocXedr will be used for brevity and consistency.
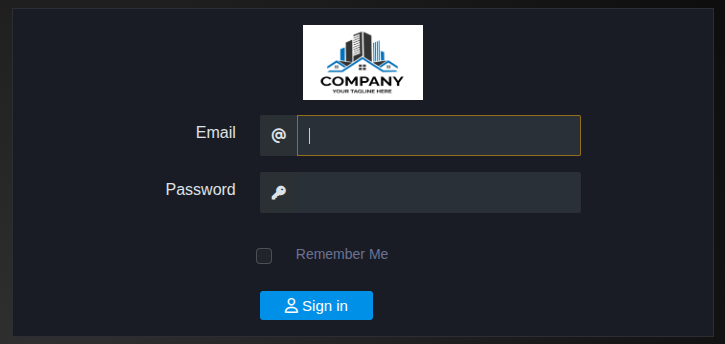
To install SocXedr, you need: access Portal, open web browser, go to Portal URL, enter email address and password in login fields, then press the Login button for authentication.
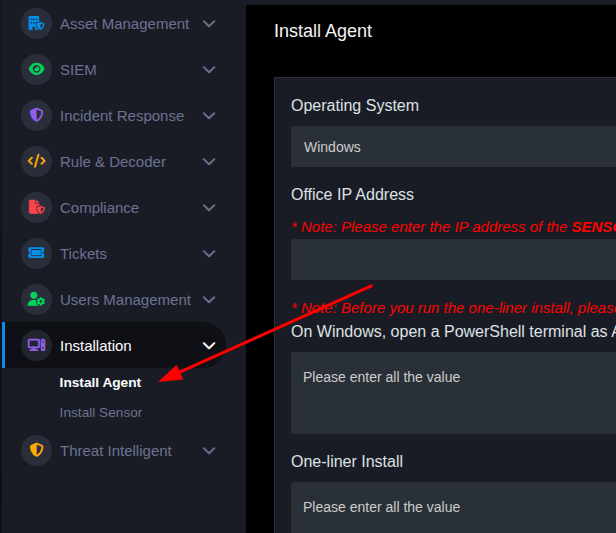
After authentication, in the navigation menu on the left, expand Installation and go to Install Agent. On the next page, you will find installation options for Windows, Linux, and macOS, allowing you to select and install SocXedr on the operating system of your choice.
To install SocXedr, first select the Operating System option.
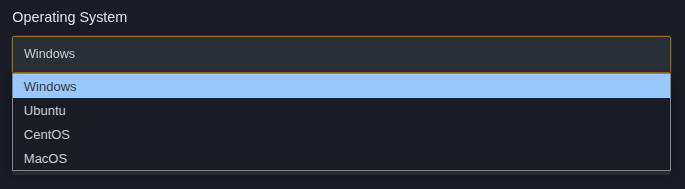
Option Details
| OS | Details |
|---|---|
| Windows | Windows 10 and above. |
| Ubuntu | Ubuntu, Debian, Raspbian OS. |
| CentOS | CentOS, AlmaLinux, Amazon Linux, Fedora, OpenSUSE, SUSE, Oracle Linux, Red Hat Enterprise Linux, RockyLinux. |
| MacOS | Apple Intel and Apple Silicon. |
After selecting an appropriate operating system, the only value that needs to be manually entered is the Sensor IP address. Please ENTER the Sensor IP address, NOT the endpoint IP address.

When the IP address is entered, the page will display two separate command blocks that can be copied:
- First command block contains a short command to check if the Windows machine can reach the Sensor. If connection is successful, there will be no notification; if not, an error will appear like: "A connection attempt failed because the connected party did not properly respond after a period of time". Default ports on Sensor that need to be open: 1514/TCP for endpoint communication and 1515/TCP for EDR registration.
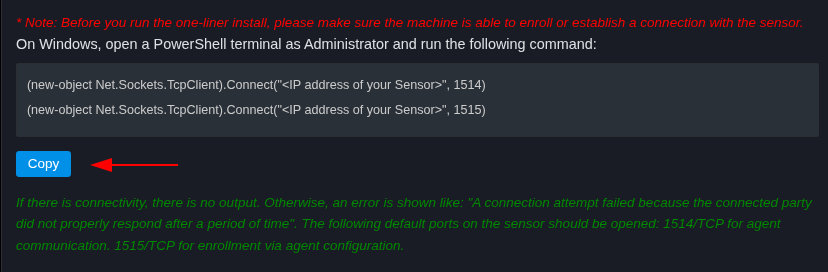
- Second command block is a single command line to download SocXedr package from Portal and install it on the target machine. This command must be executed in Command Prompt with Administrator elevation. When run, the SocXedr installer will automatically launch, configure to point to the previously designated Sensor, and register back with the Portal. After a short installation time, SocXedr will appear in the endpoint list of the Portal, indicating successful installation.
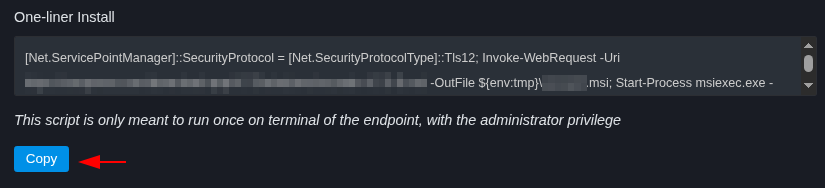
SocXedr for Windows
Follow Part 1 to create the one-line command. On the target Windows machine, open Windows PowerShell with Administrator rights.
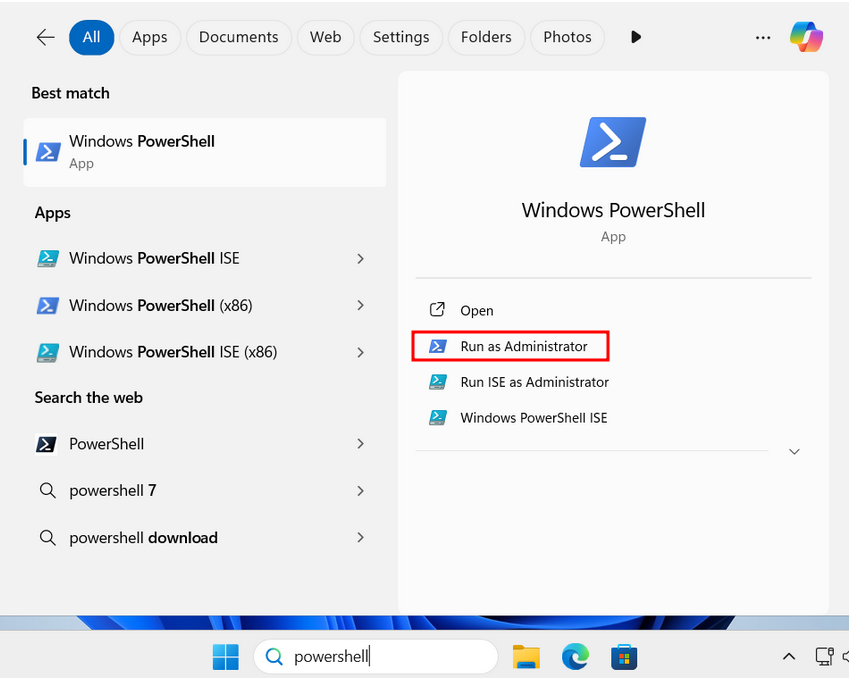
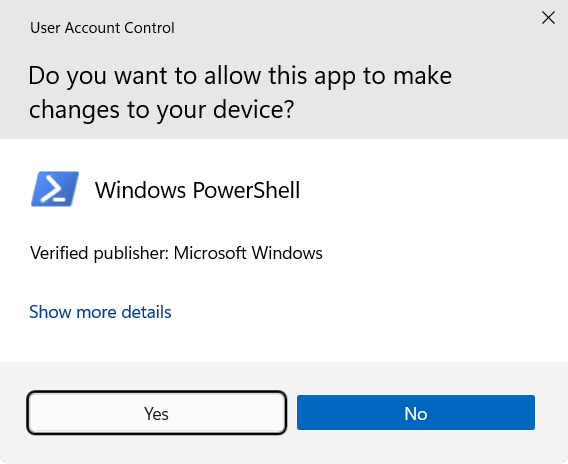
Paste and execute the one-line command.
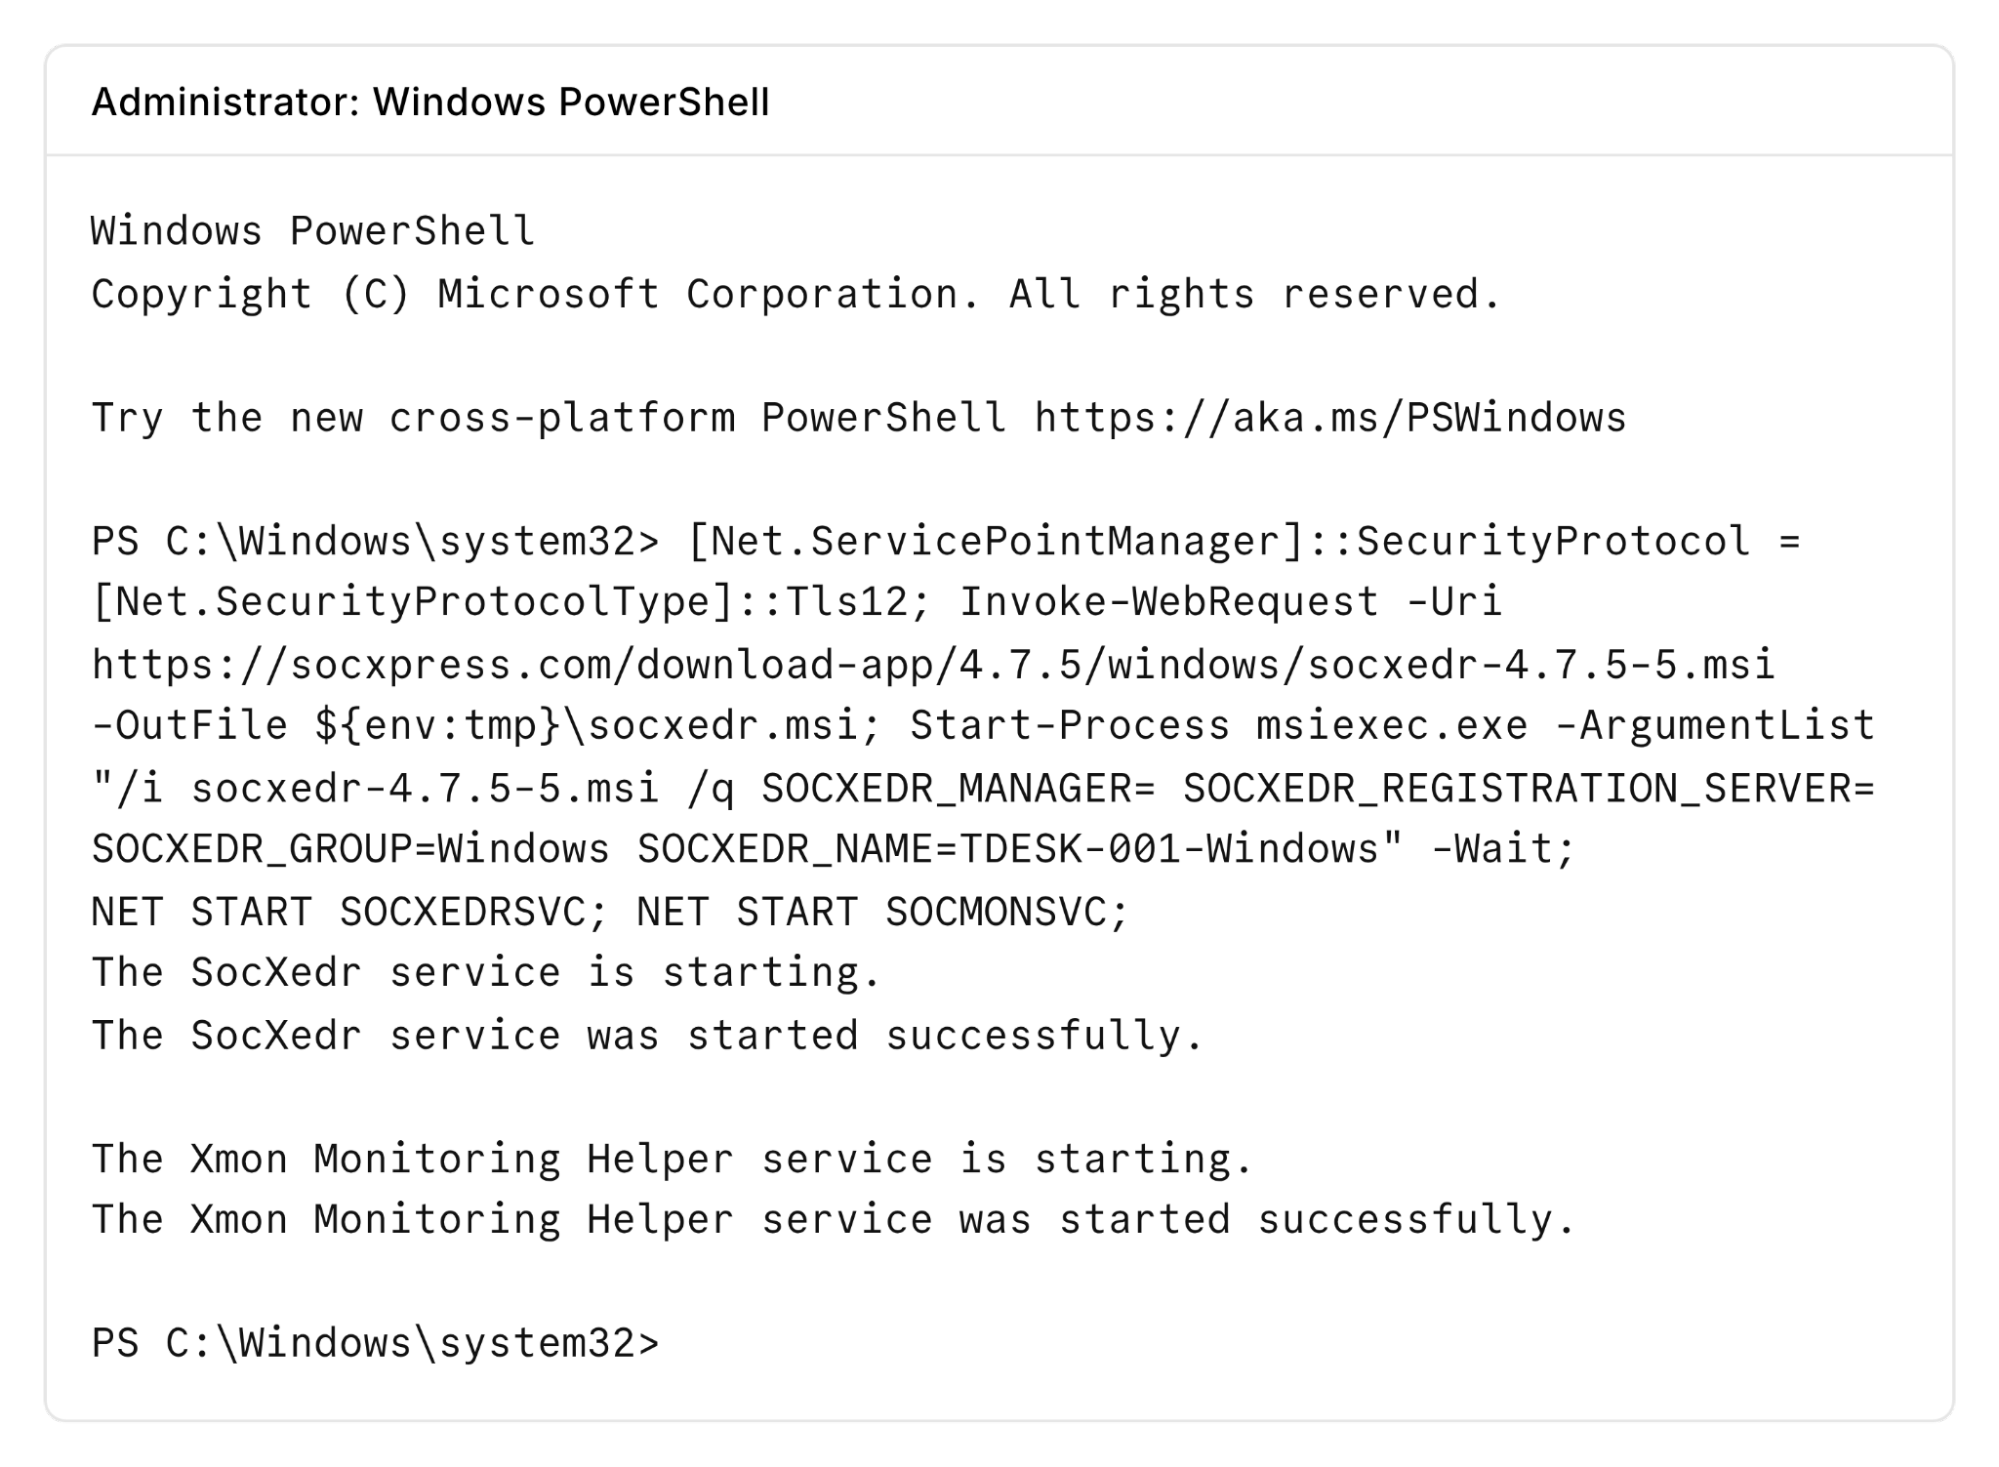
If the Sensor IP address is valid (Windows machine can connect to Sensor) and Sensor confirms the machine name is unique (name has not been registered before), the command result will display:
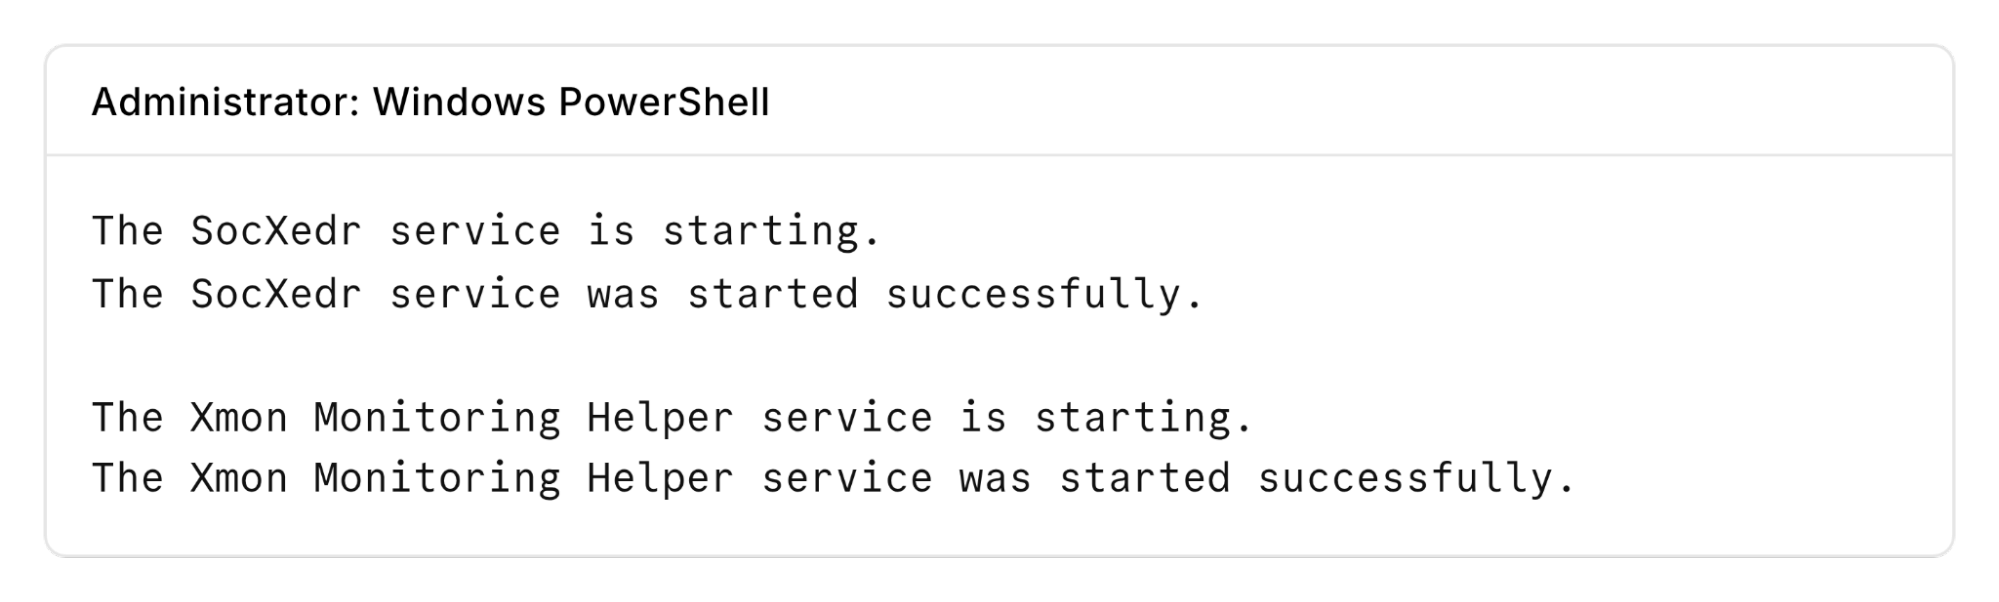
This means the installation has completed successfully.
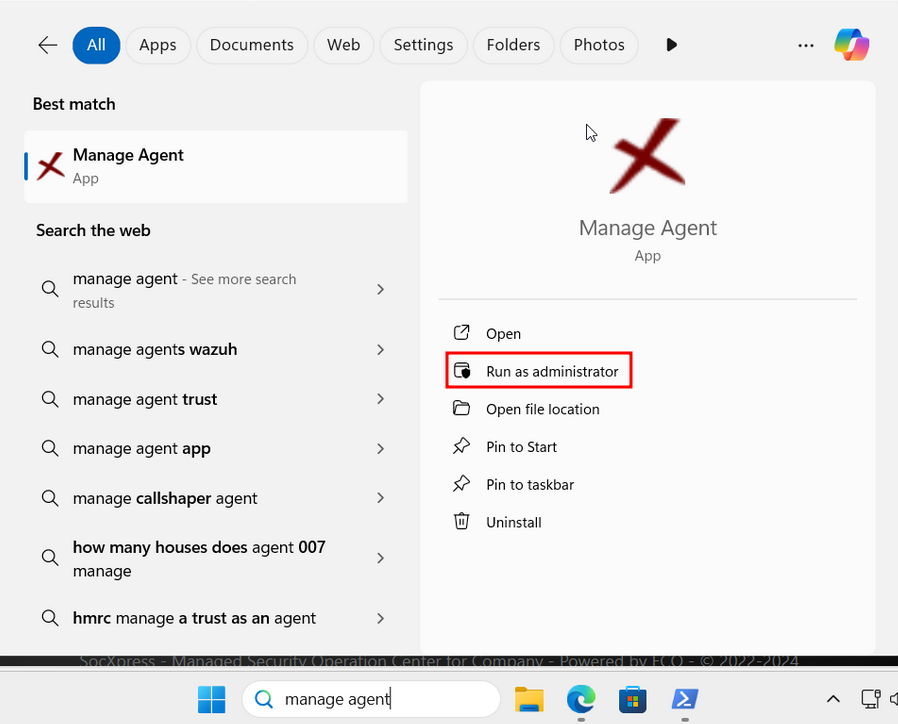
Then find Manage Agent, open SocXedr.
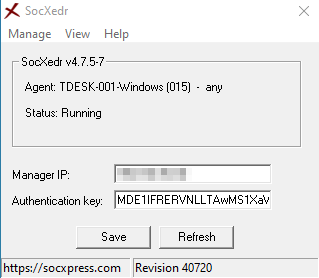
If the status shows: Running and authentication key: [unique value],
Successfully connected SocXedr Windows to Sensor.
SocXedr for Linux
Follow Part 1 to create the one-line command. On the target Linux machine, open Terminal and run with sudo rights. Paste and execute the command.
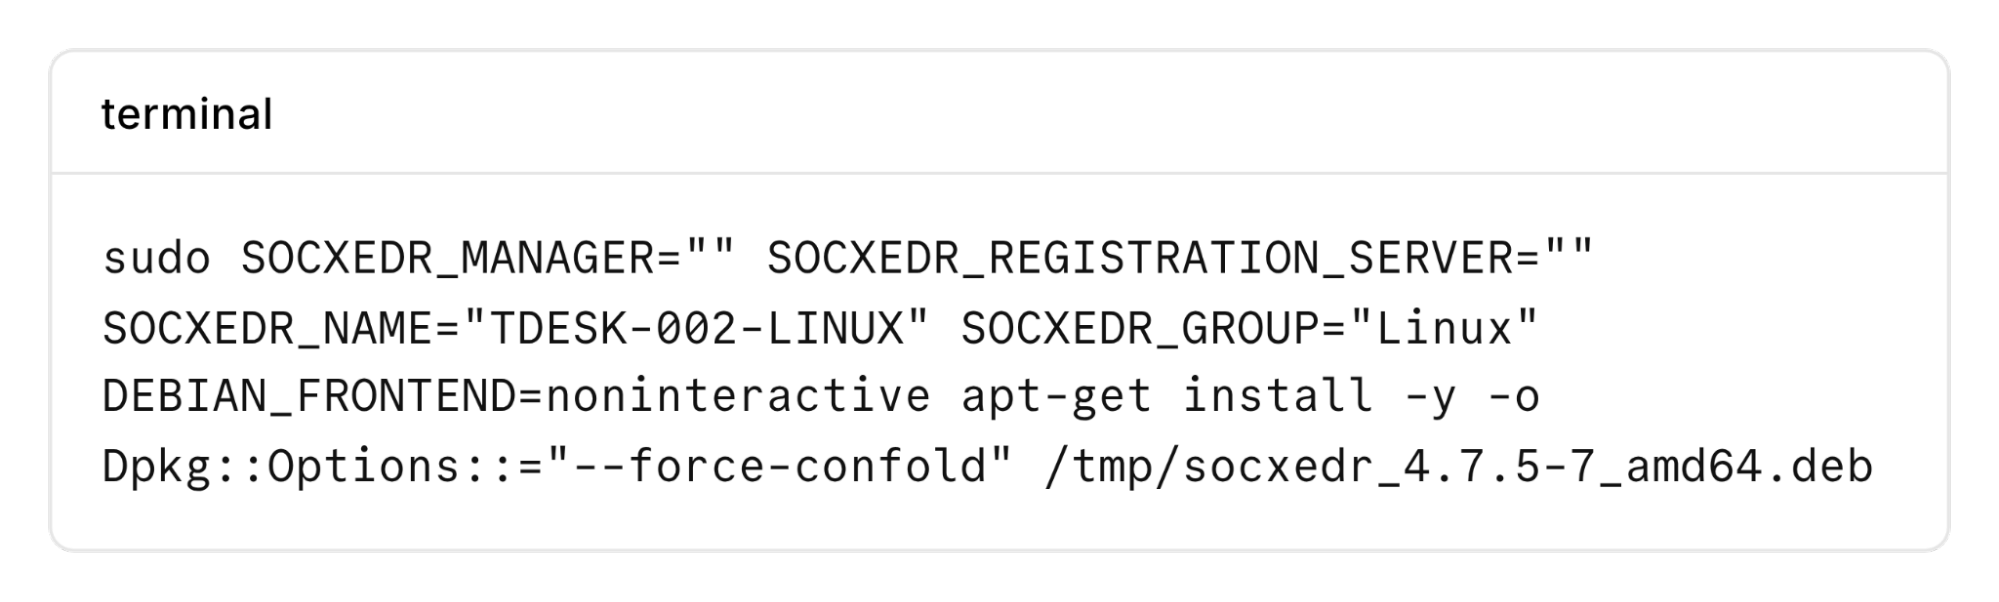
If the Sensor IP address is valid (Linux machine can connect to Sensor) and Sensor confirms the machine name is unique (name has not been registered before), you can check SocXedr status with the command:
systemctl status socxedr
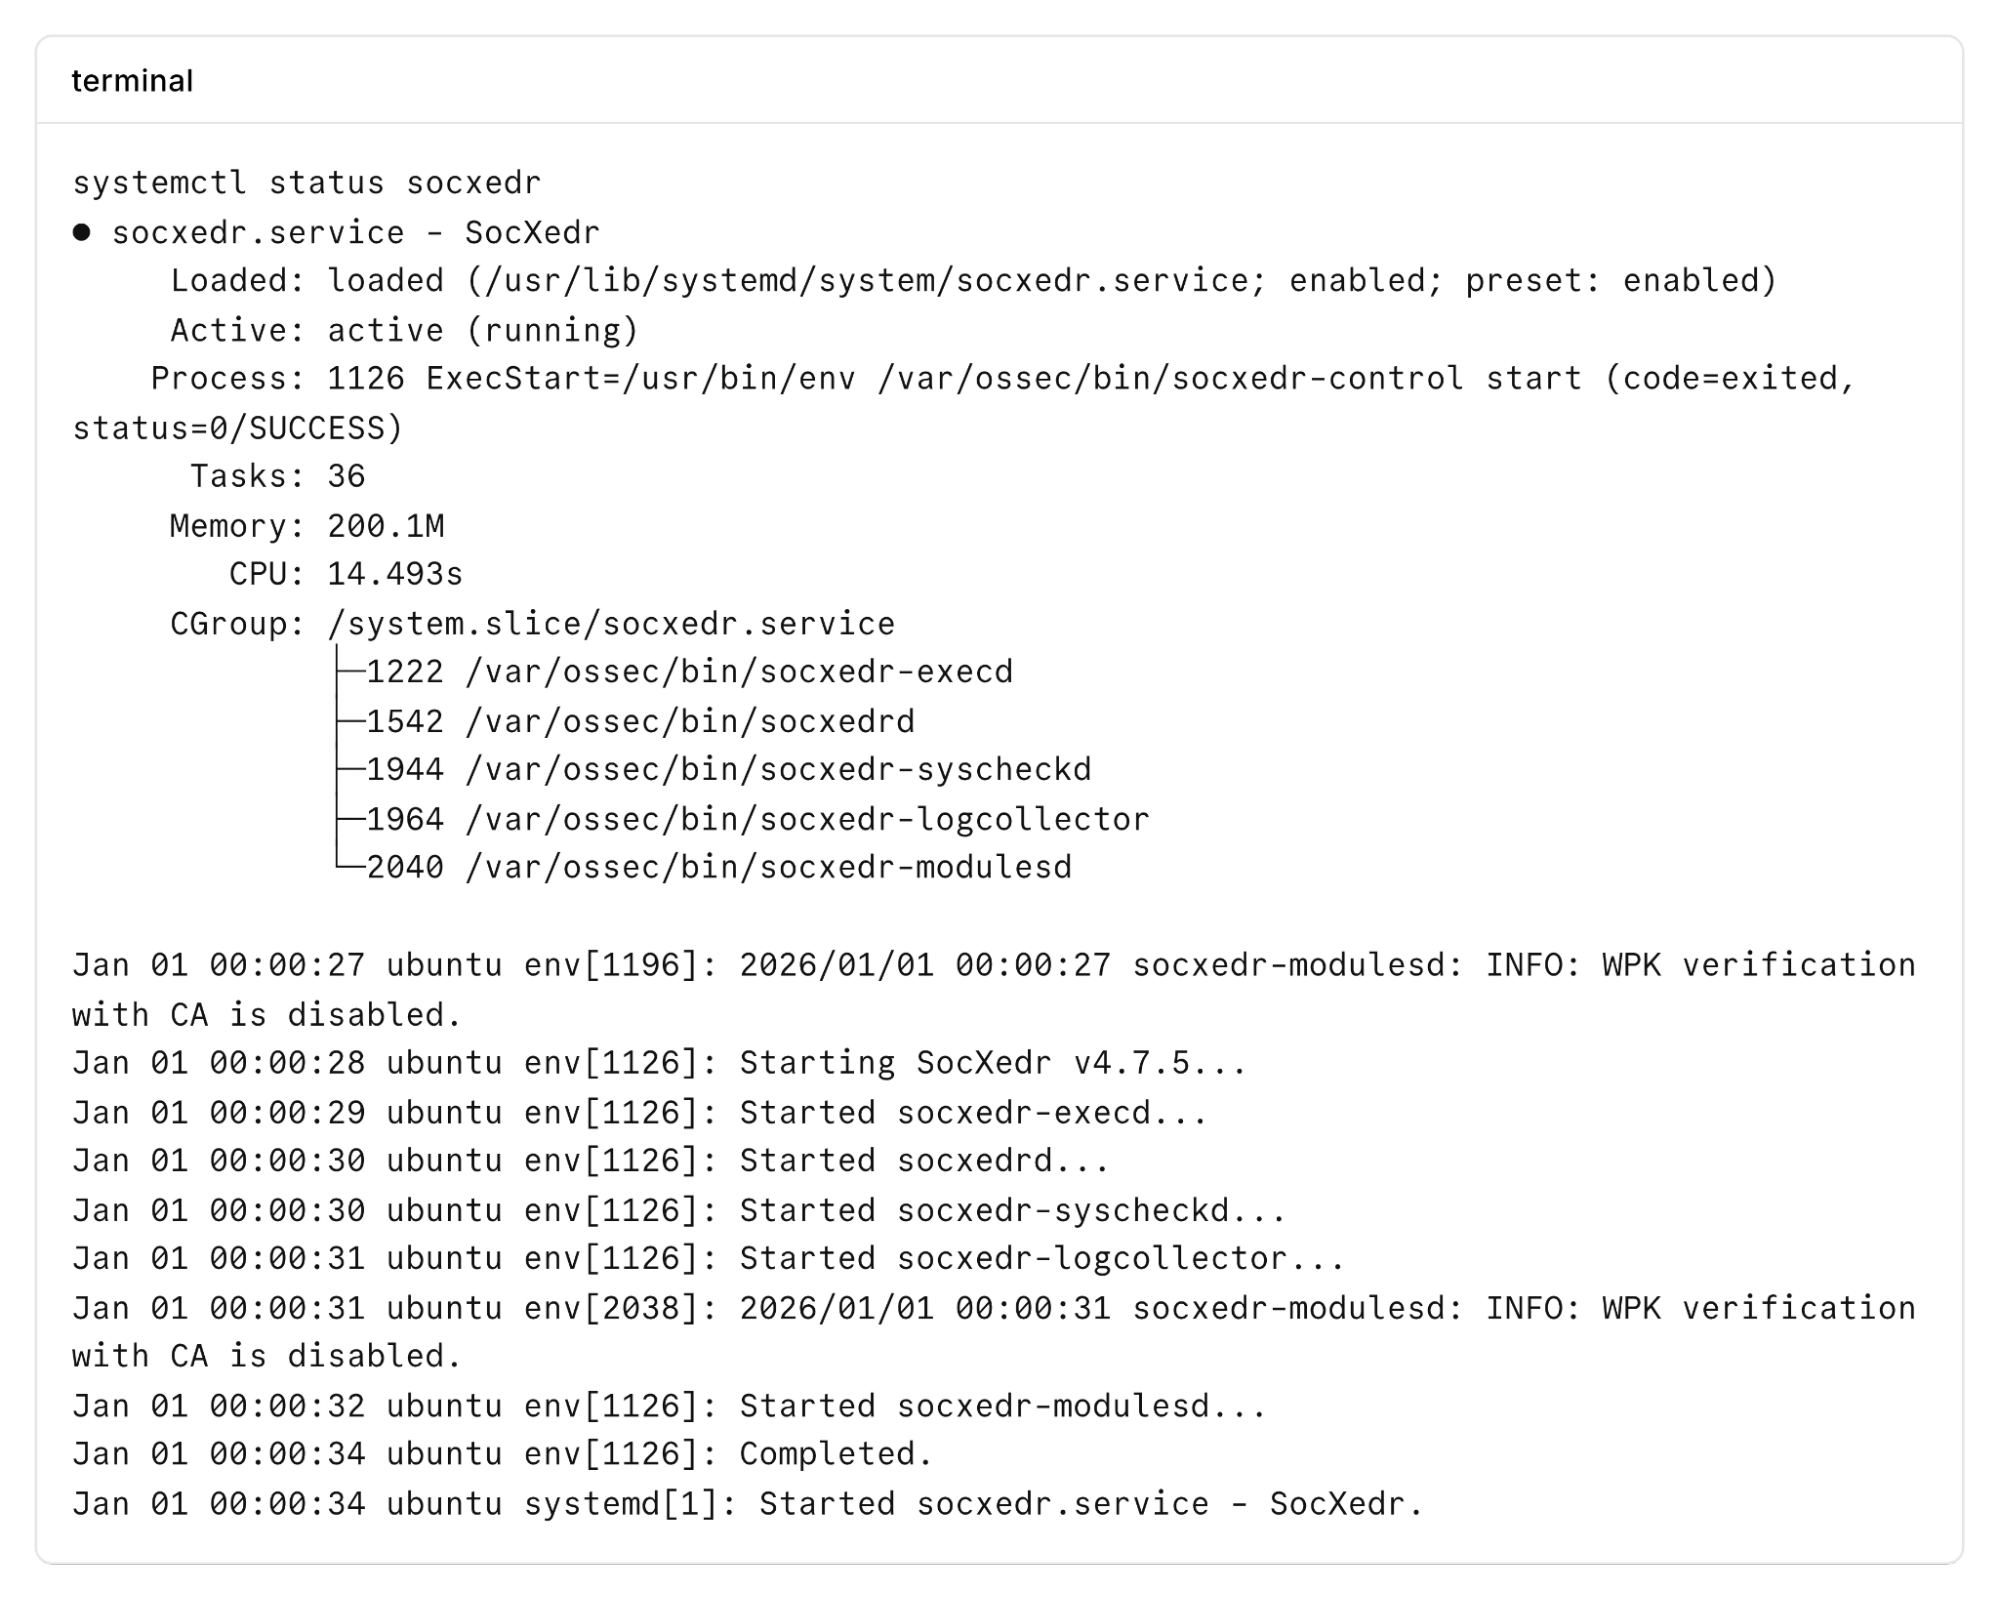
Successfully connected SocXedr Linux with Sensor.
SocXedr for macOS
Follow Part 1 to create the one-line command. On the target macOS machine, open Terminal and run with sudo rights. Paste and execute the command.
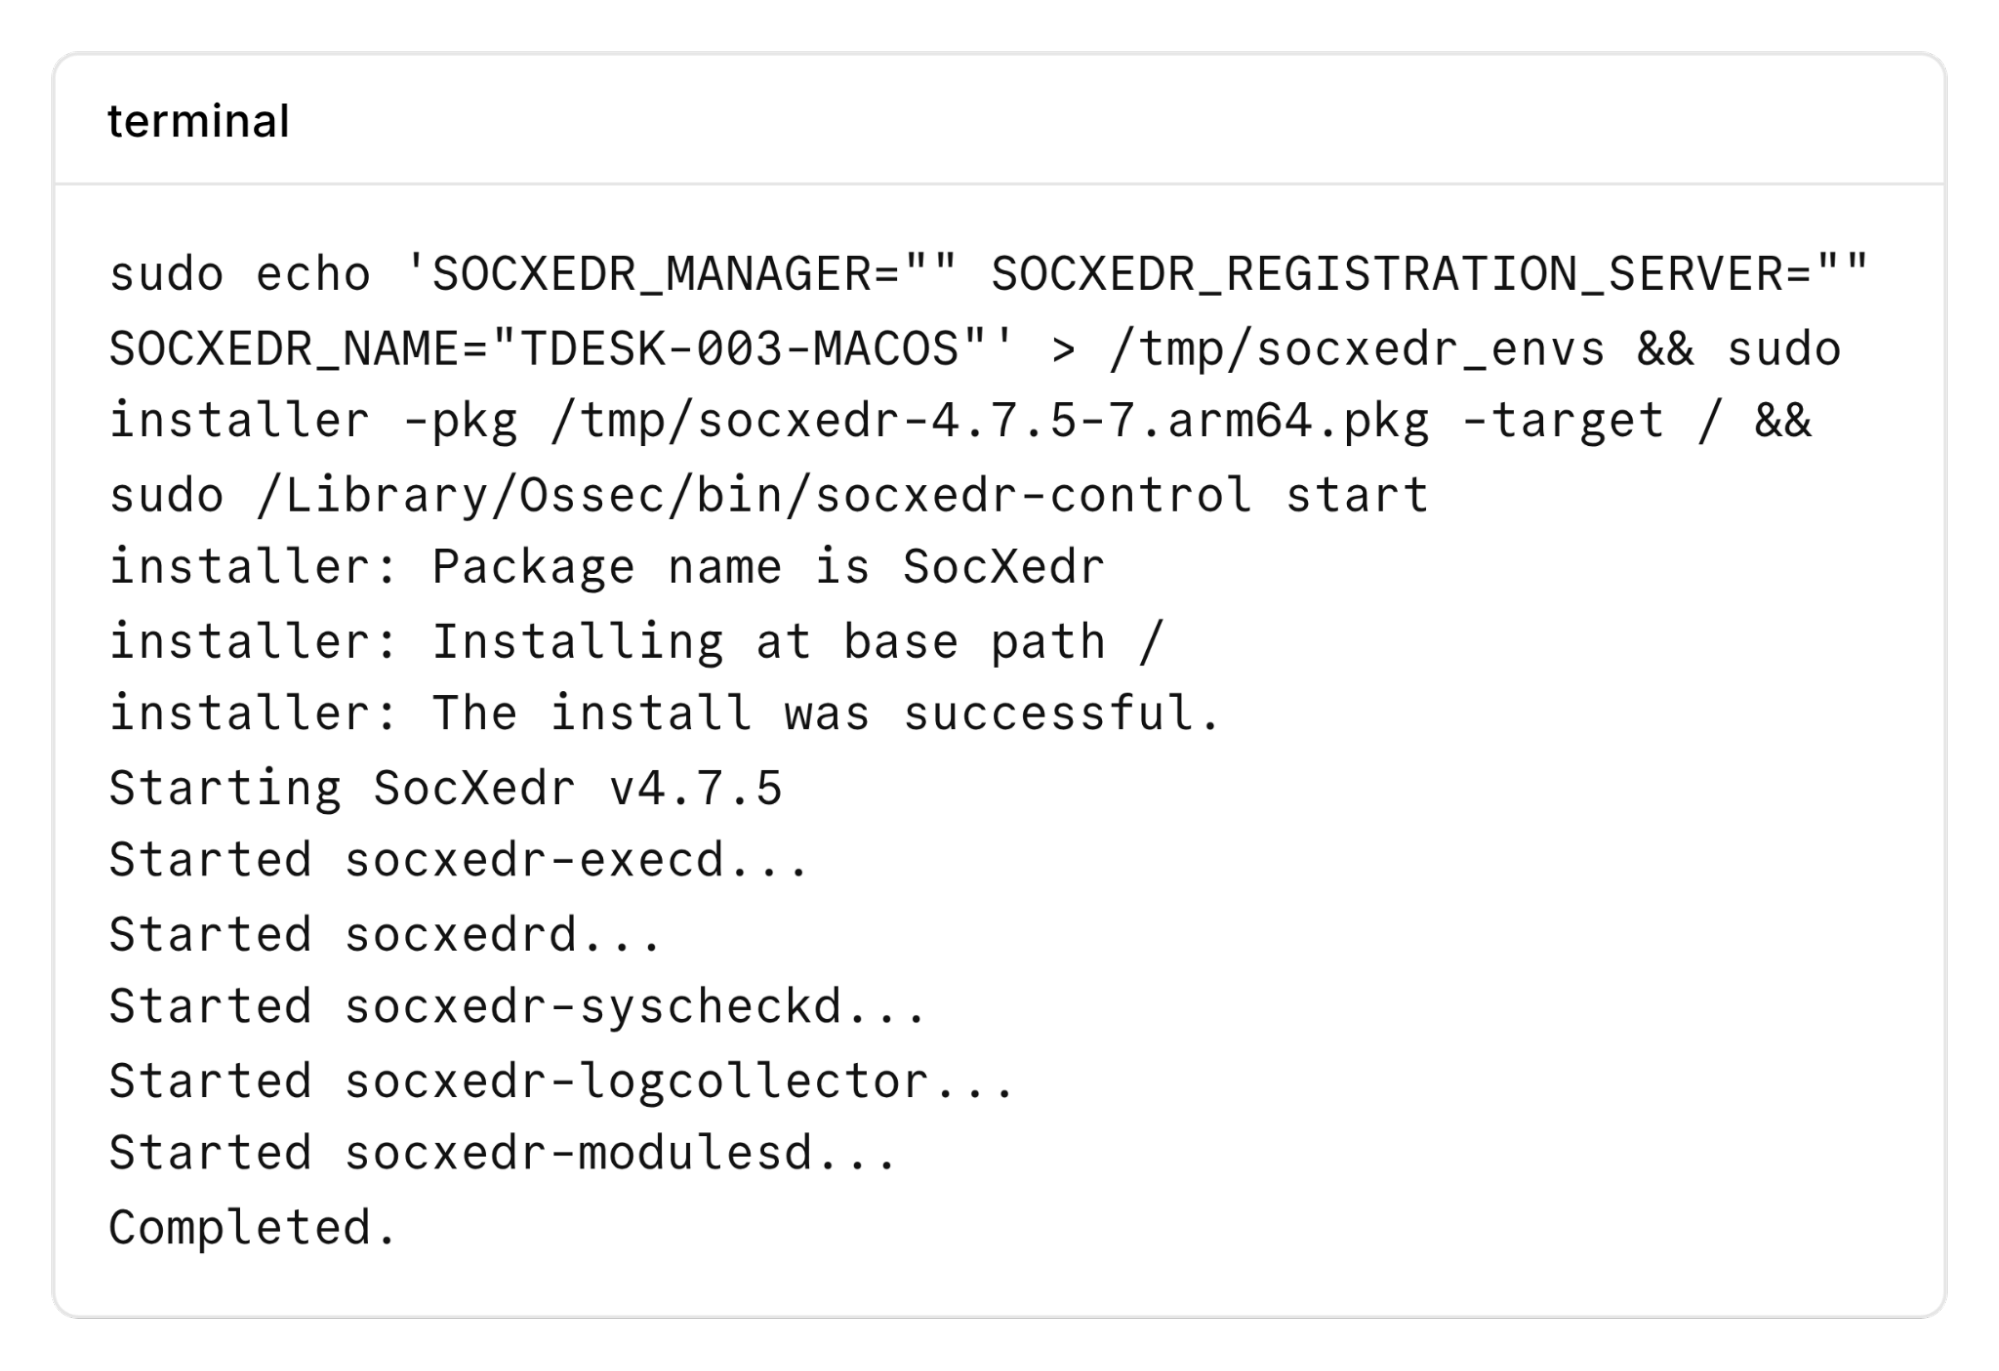
If the Sensor IP address is valid (macOS machine can connect to Sensor) and Sensor confirms the machine name is unique (name has not been registered before), you can check SocXedr status with the command:
/Library/Ossec/bin/socxedr-control status
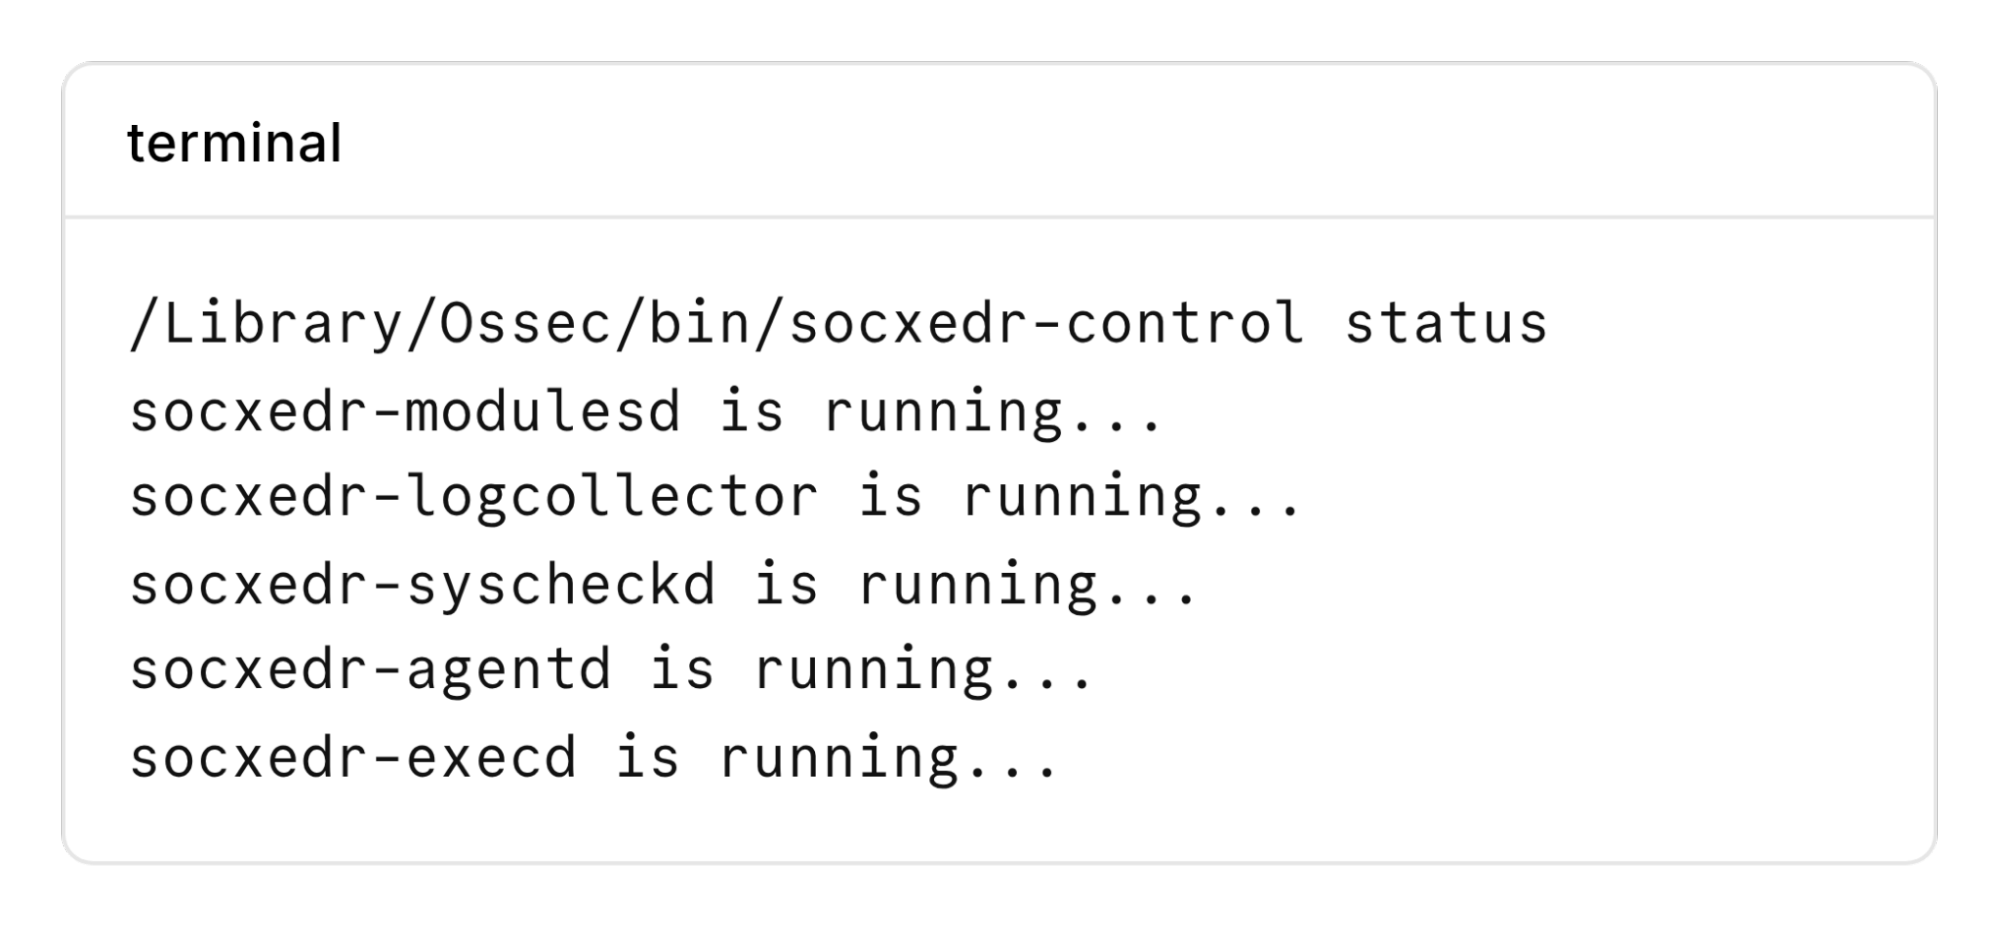
Successfully connected SocXedr macOS with Sensor.
Verifying SocXedr on Portal
On the left navigation column of Portal, expand Asset Management and go to Companies. Select your company/locale. This page will display all devices (endpoints) that have been installed for the office Sensor.
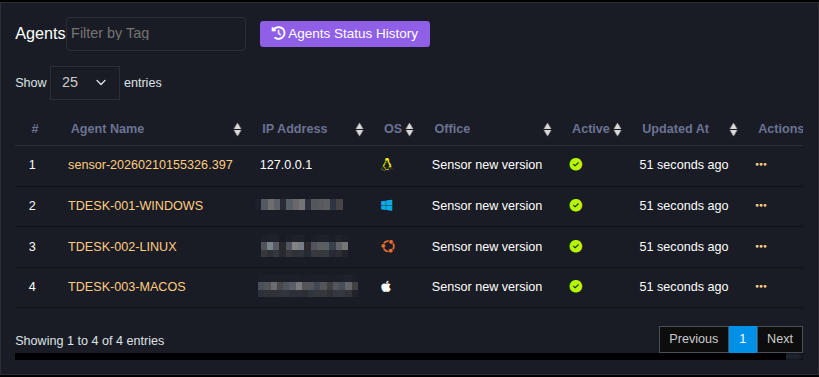
Confirm the devices appear in the list → Successfully connected SocXedr with Portal.
Troubleshooting
- Check network connectivity and firewall between agent and server.
- Check agent configuration file (
/etc/socx-agent/config.ymlor similar). - View agent logs (
/var/log/socx-agent/*.logorjournalctl -u socx-agent).
Security and Best Practices
- Run installer with minimum necessary privileges.
- Use TLS (HTTPS) to secure agent → server connection.
- Consider installing on test environment before mass deployment.